Hey all!
Hope you are OK!
With this post, we will start a series of posts about OCI – Oracle Cloud Infrastructure, the idea is to show some resources that we can create/manage on this powerful Cloud platform.
So, the better way to start is creating an OCI Account.
You can create an OCI free account to study and explore the platform. Your account will be USD$ 300,00 converted to your local currency or the usage for one month. But, depending the way you use and create your resources, your account can expiry before one month.
Let’s go!
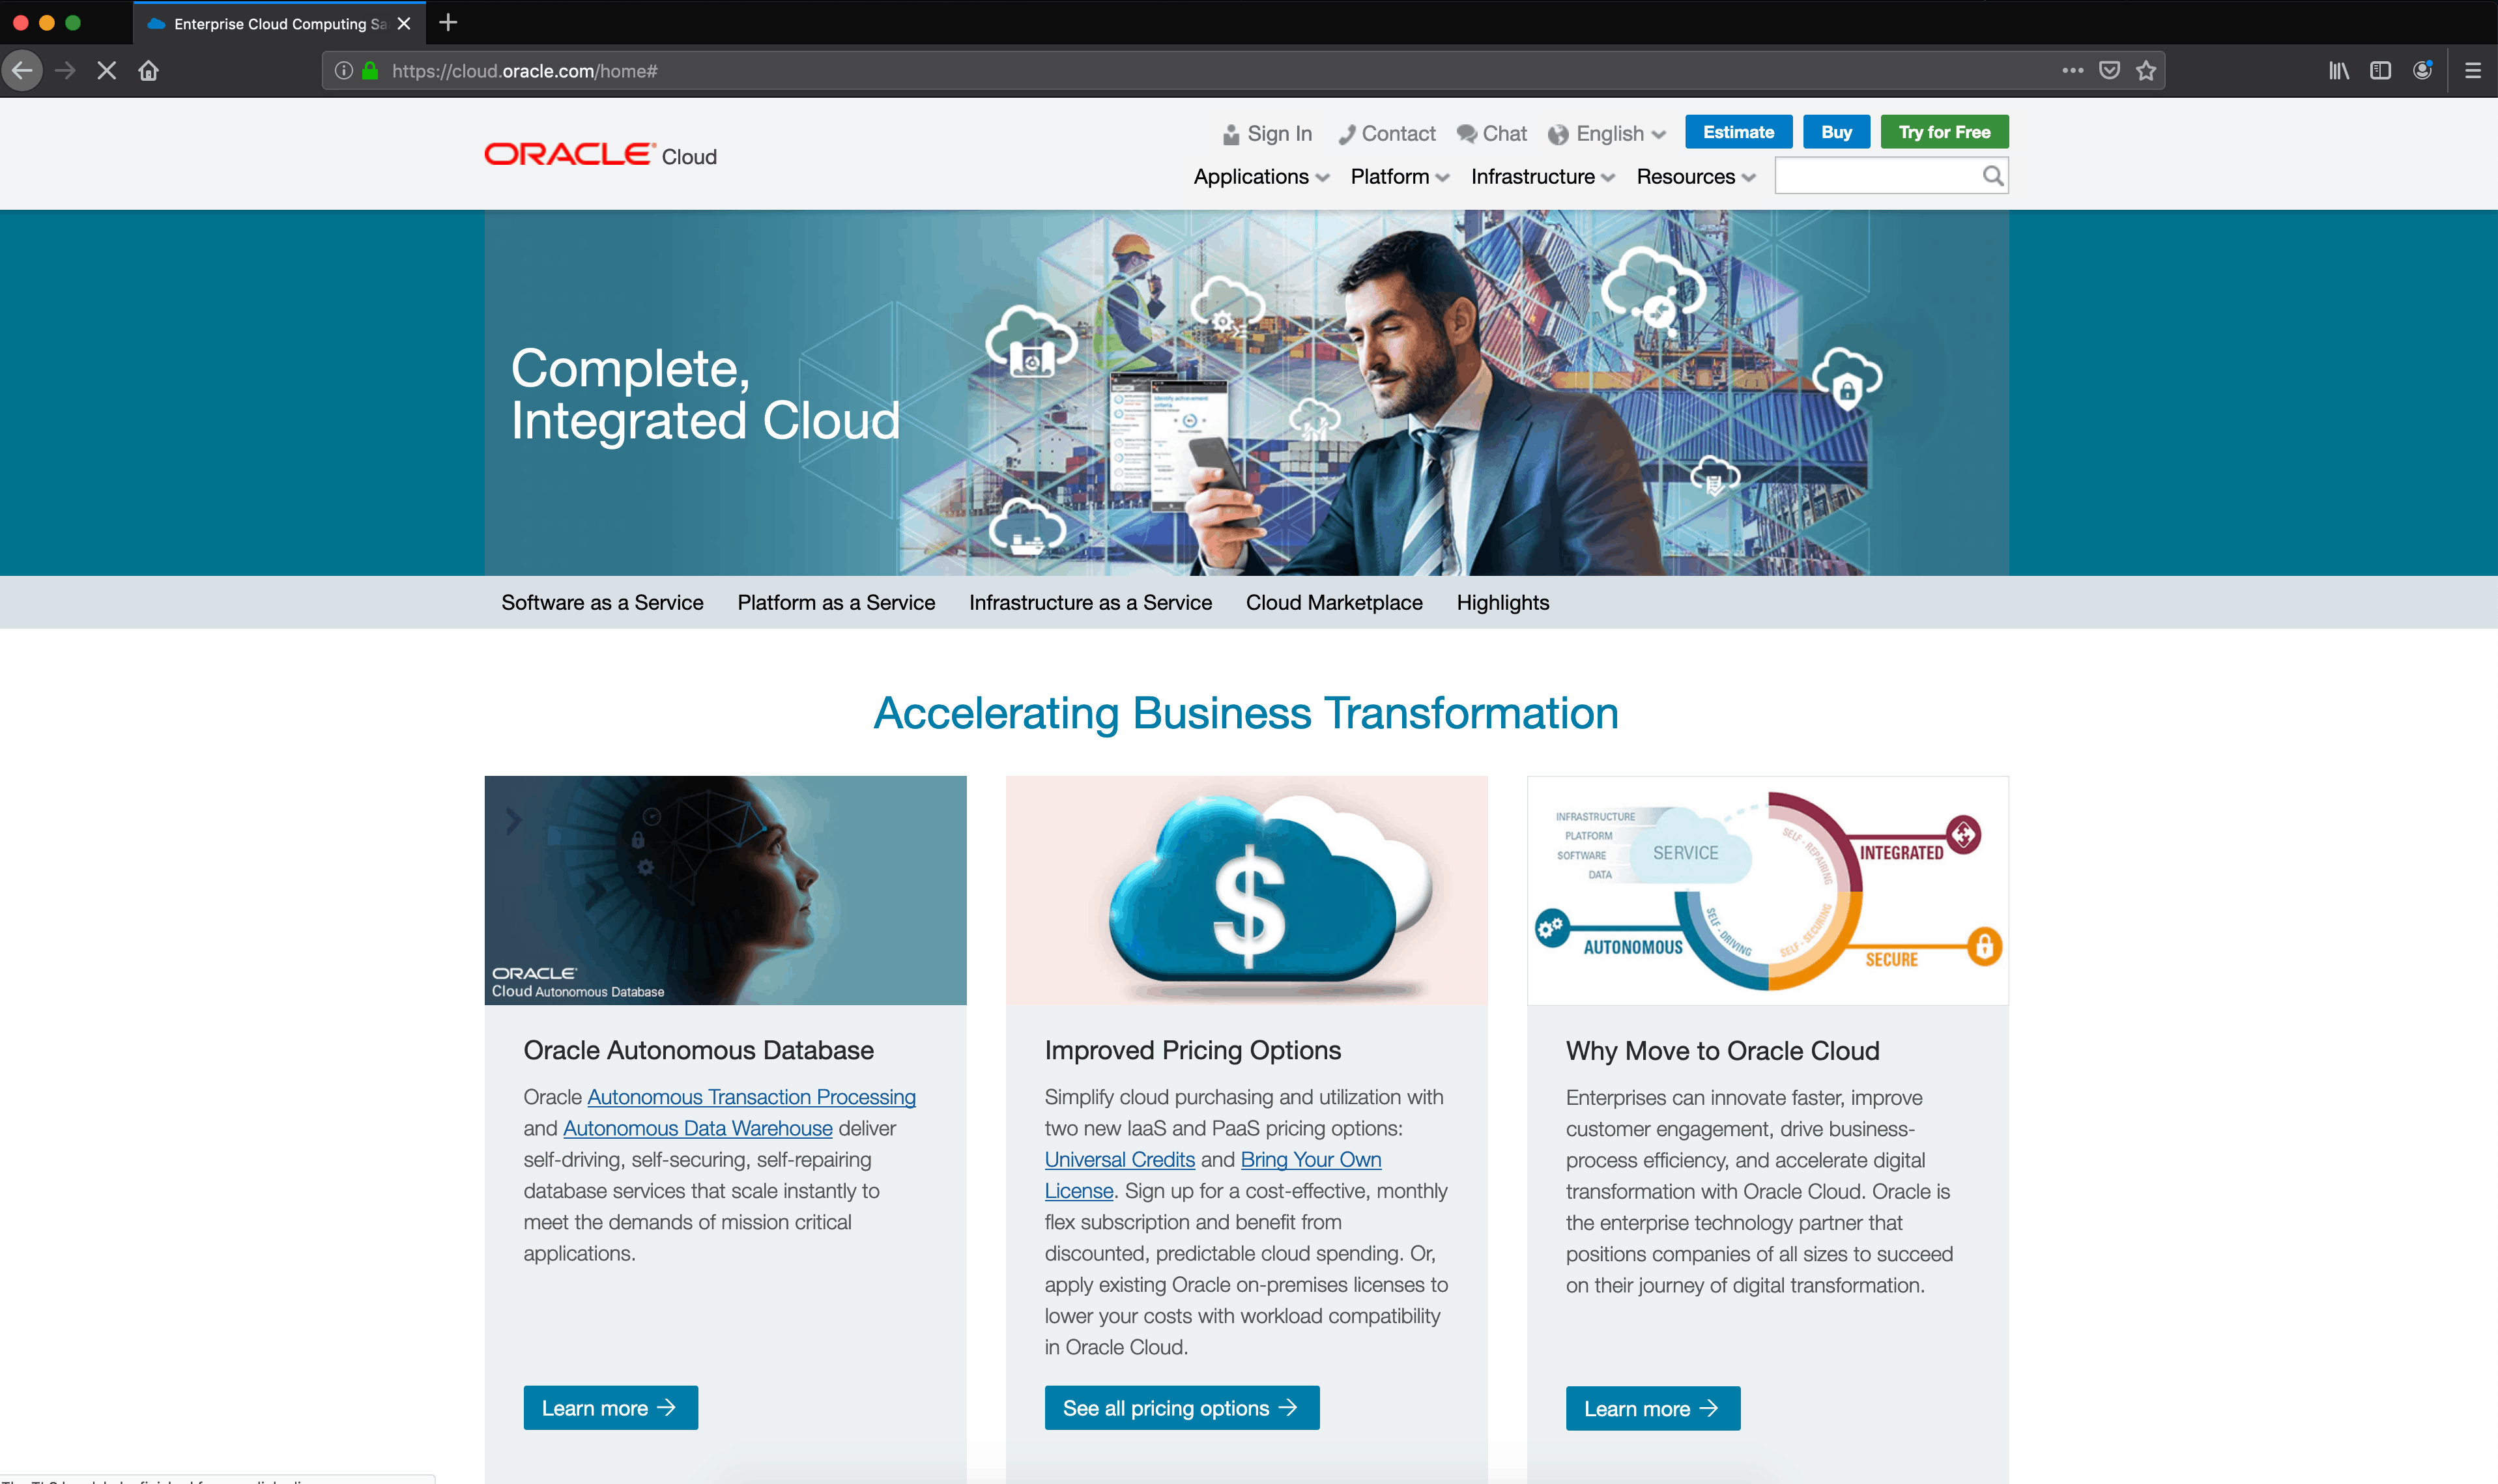
Go to the URL: https://cloud.oracle.com
Click on the green button: Try for free
The screen below will be exhibited. Fill out with a valid e-mail address and your country. Click on [Next]:

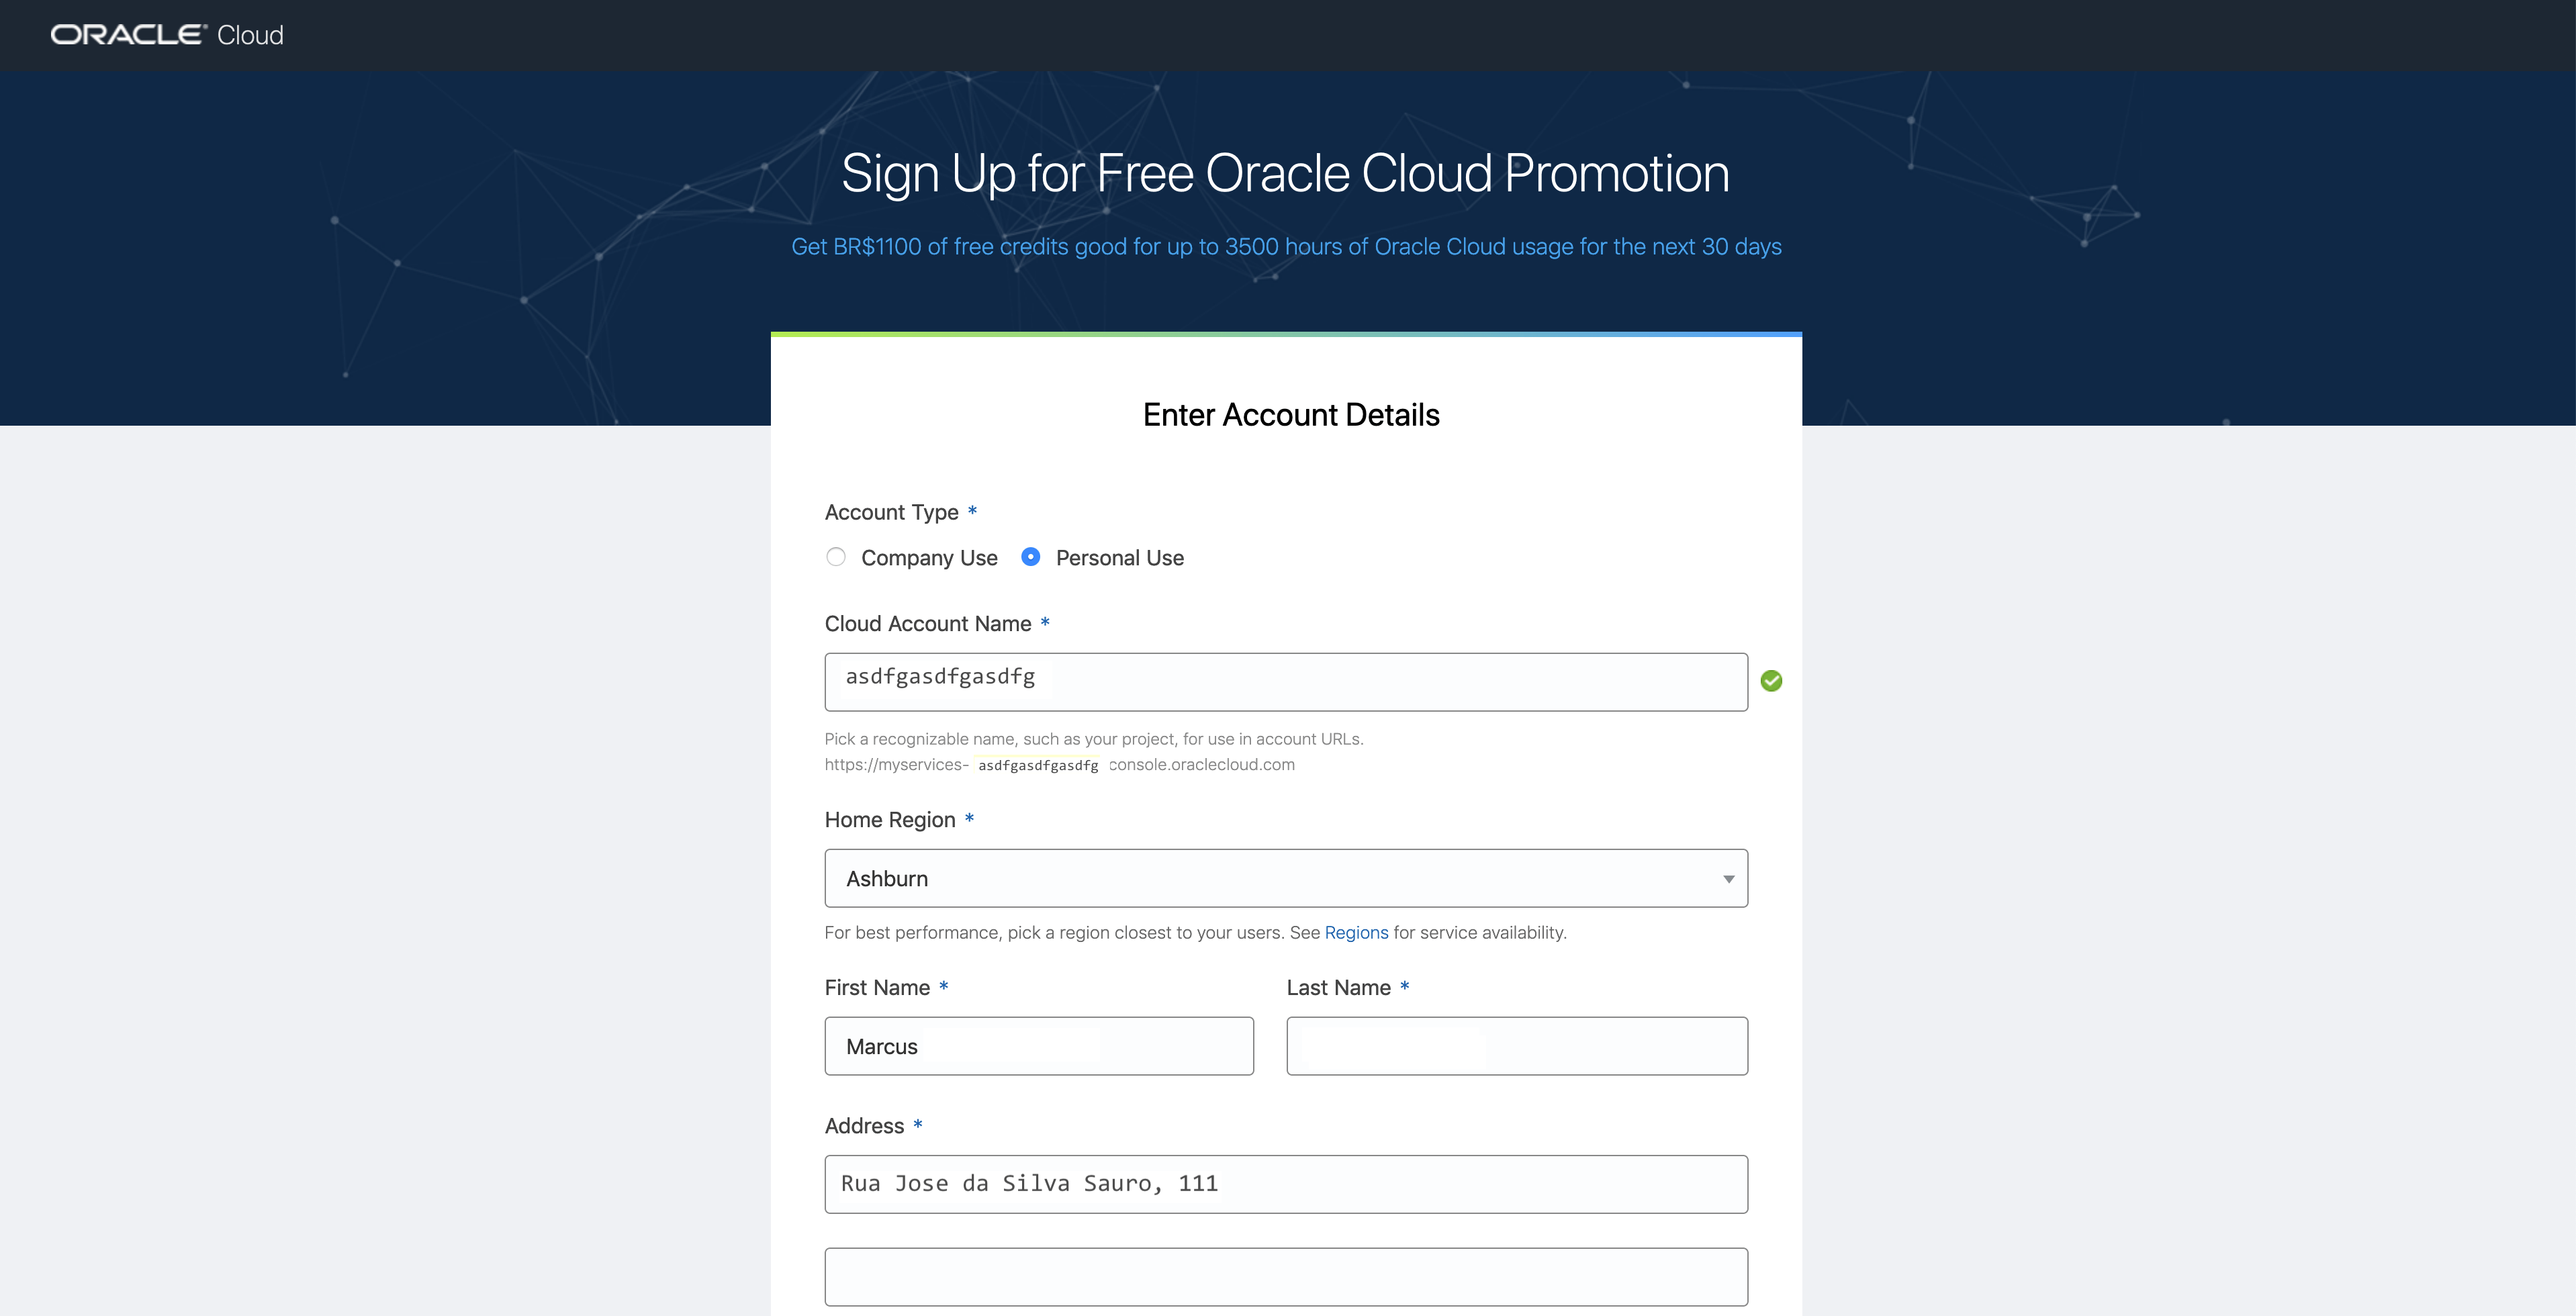
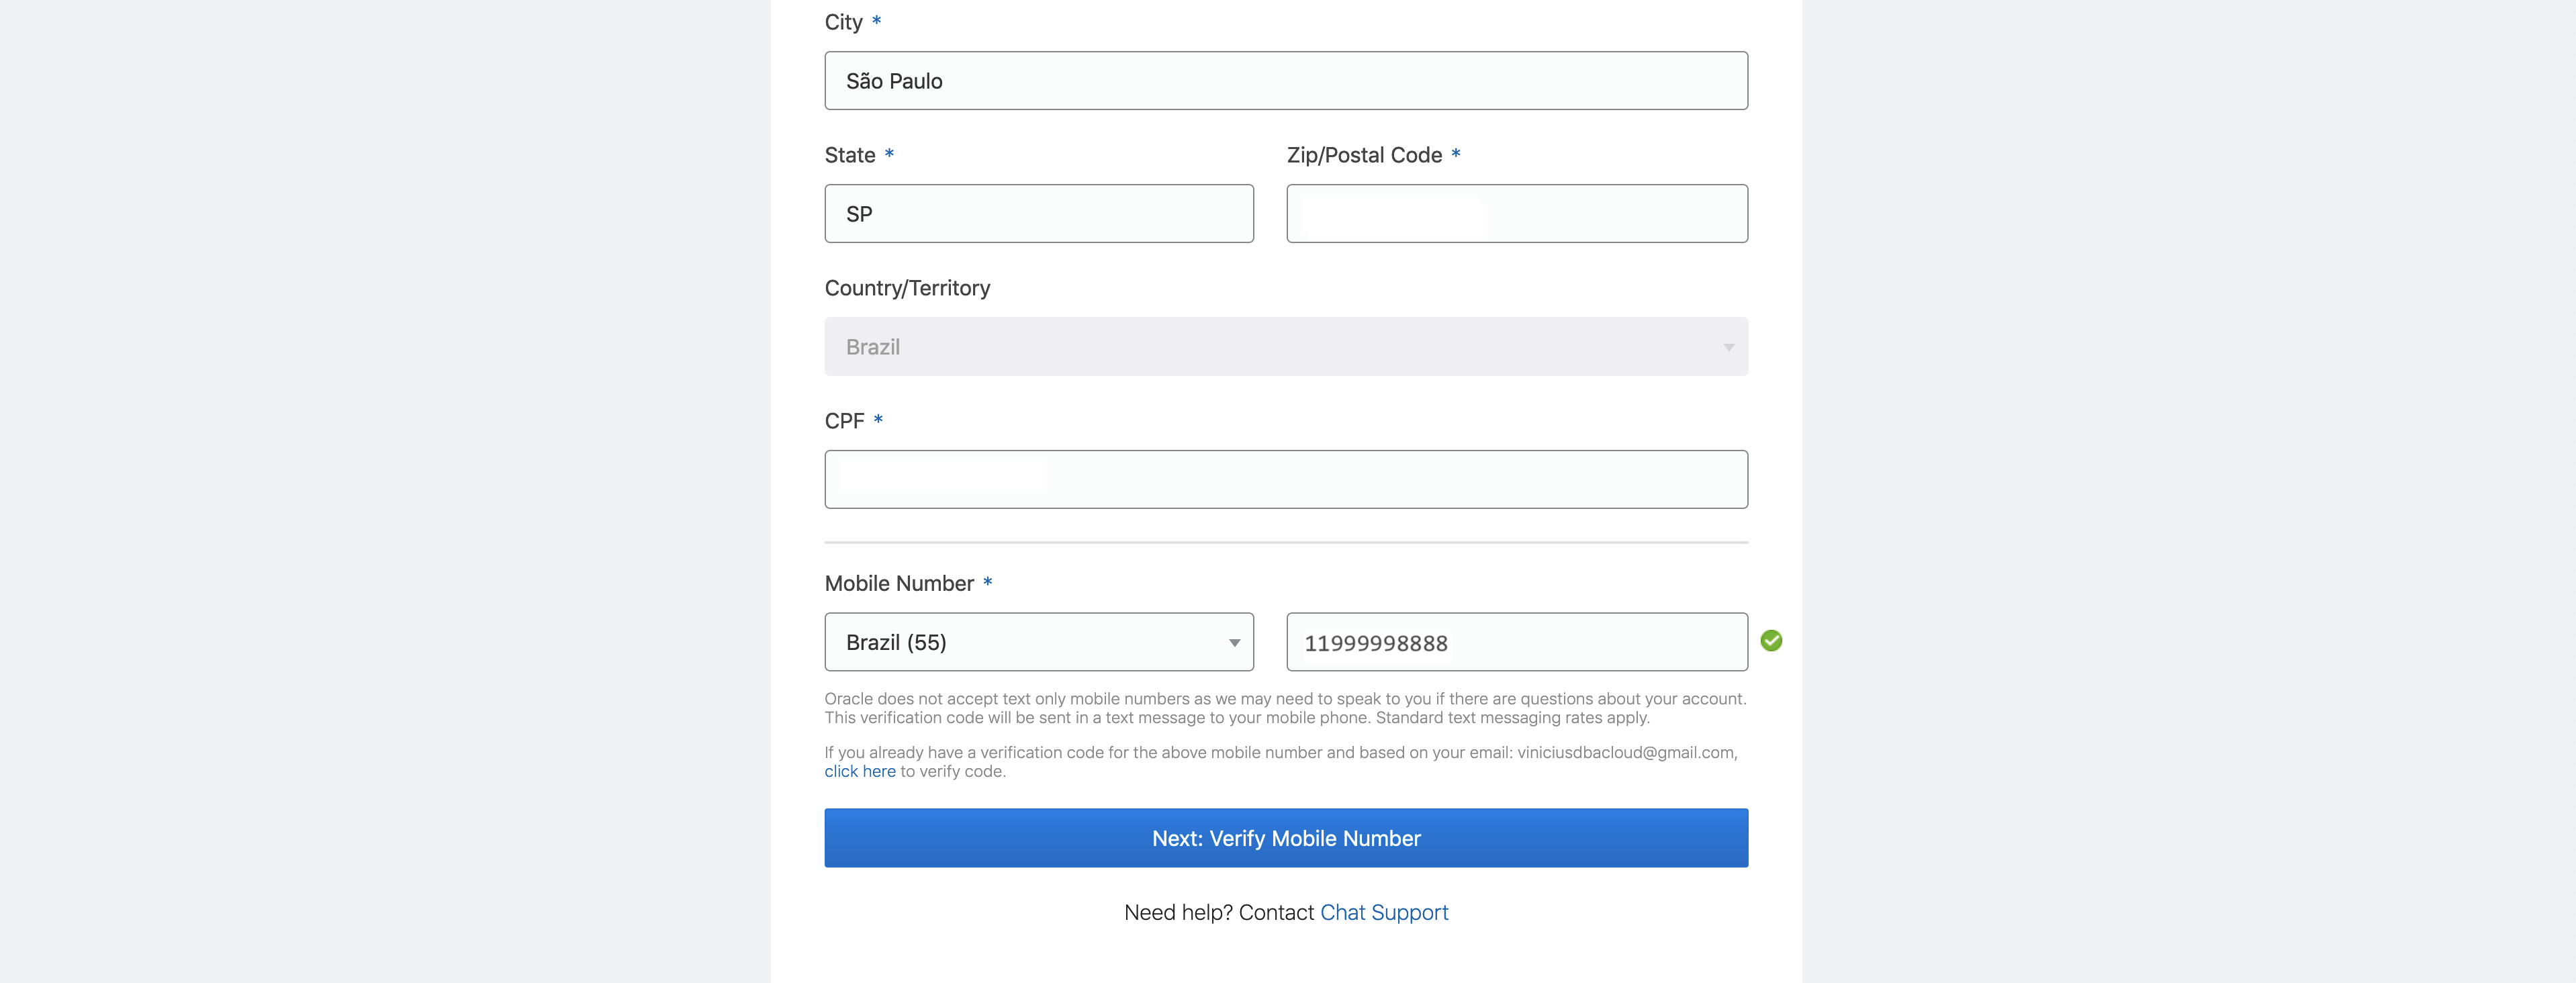
The screen below will be exhibited. In Account Type, select Personal Use. Input a name for your Cloud account (this name will be verified if is unique in Oracle Cloud directory), select one region (geographic region DataCenter that you will use), in this example, I’ve selected Ashburn, input your data: name (in this case, I need to confirm my CPF [Brazil identifier document]), address and input a valid mobile phone number, that will be used to validate your Cloud account. Click on [Next: Verify Mobile Number]:
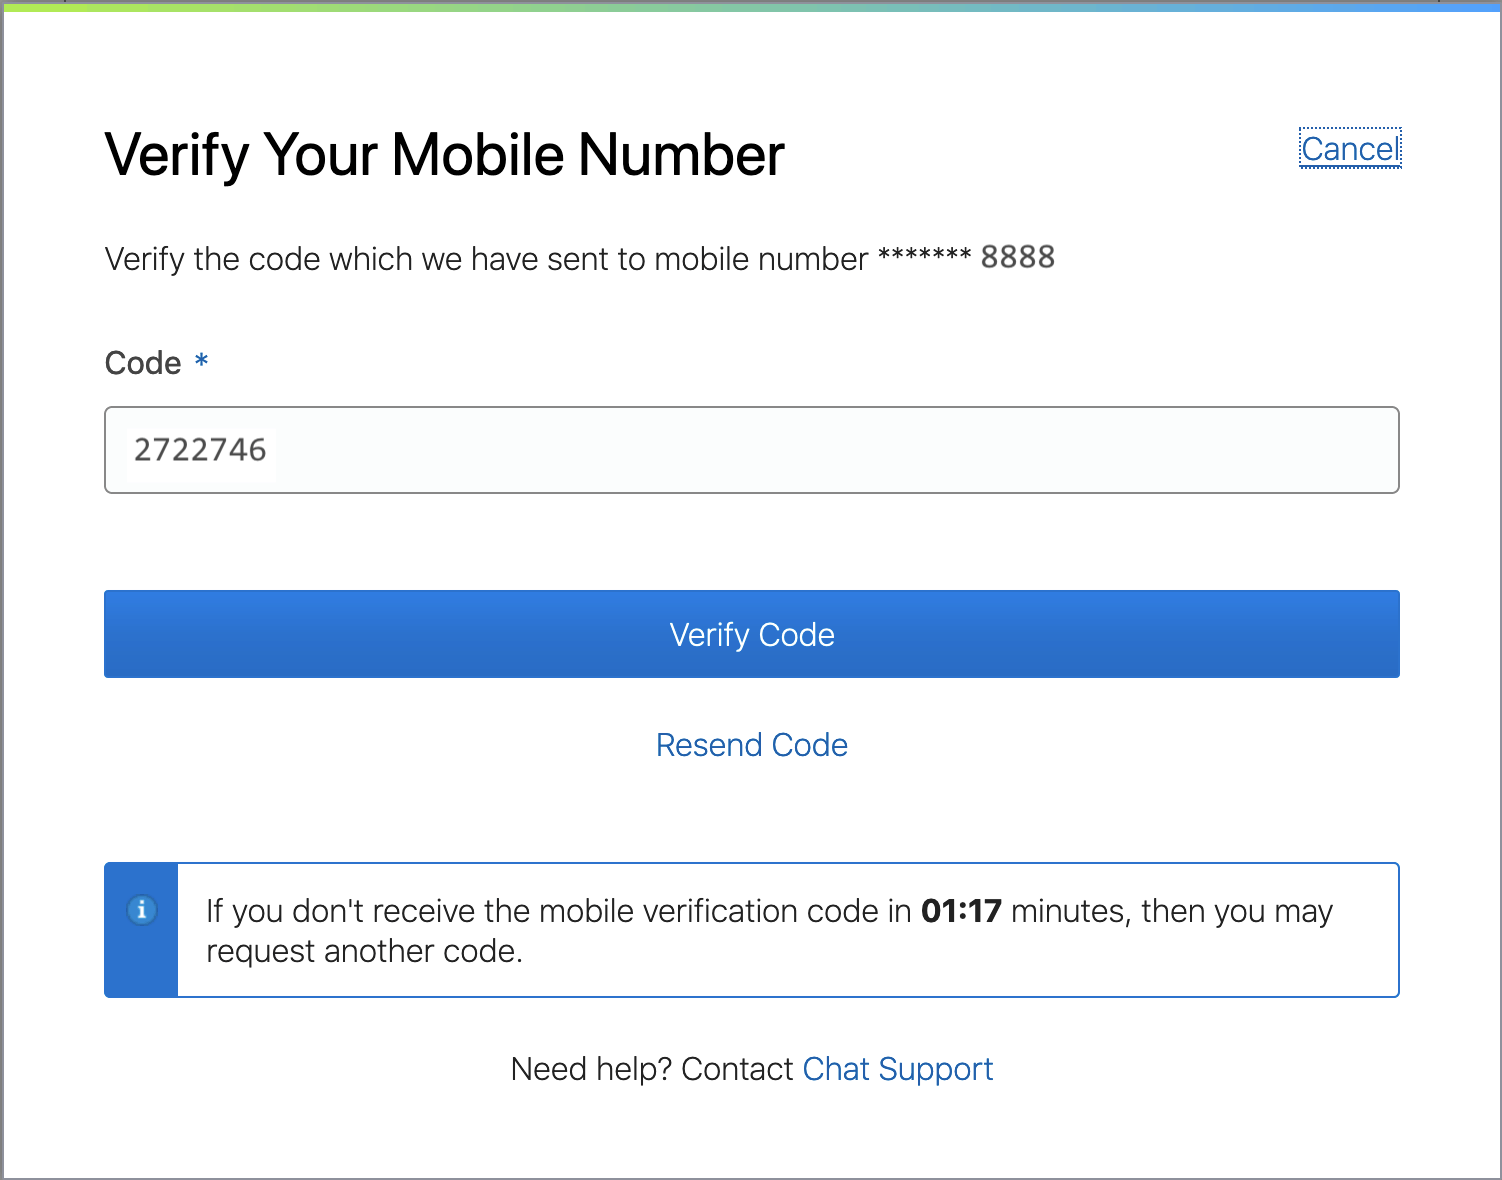
You should receive a SMS message with the code to verify your account. Input the code into the field Code and click on [Verify Code]:
After validate your mobile number, you should input your Credit Card details. This step is needed because if you want to upgrade your account after trial period, your payment details it will should be validated meanwile you create your account. Click on [Add Credit Card Details]:

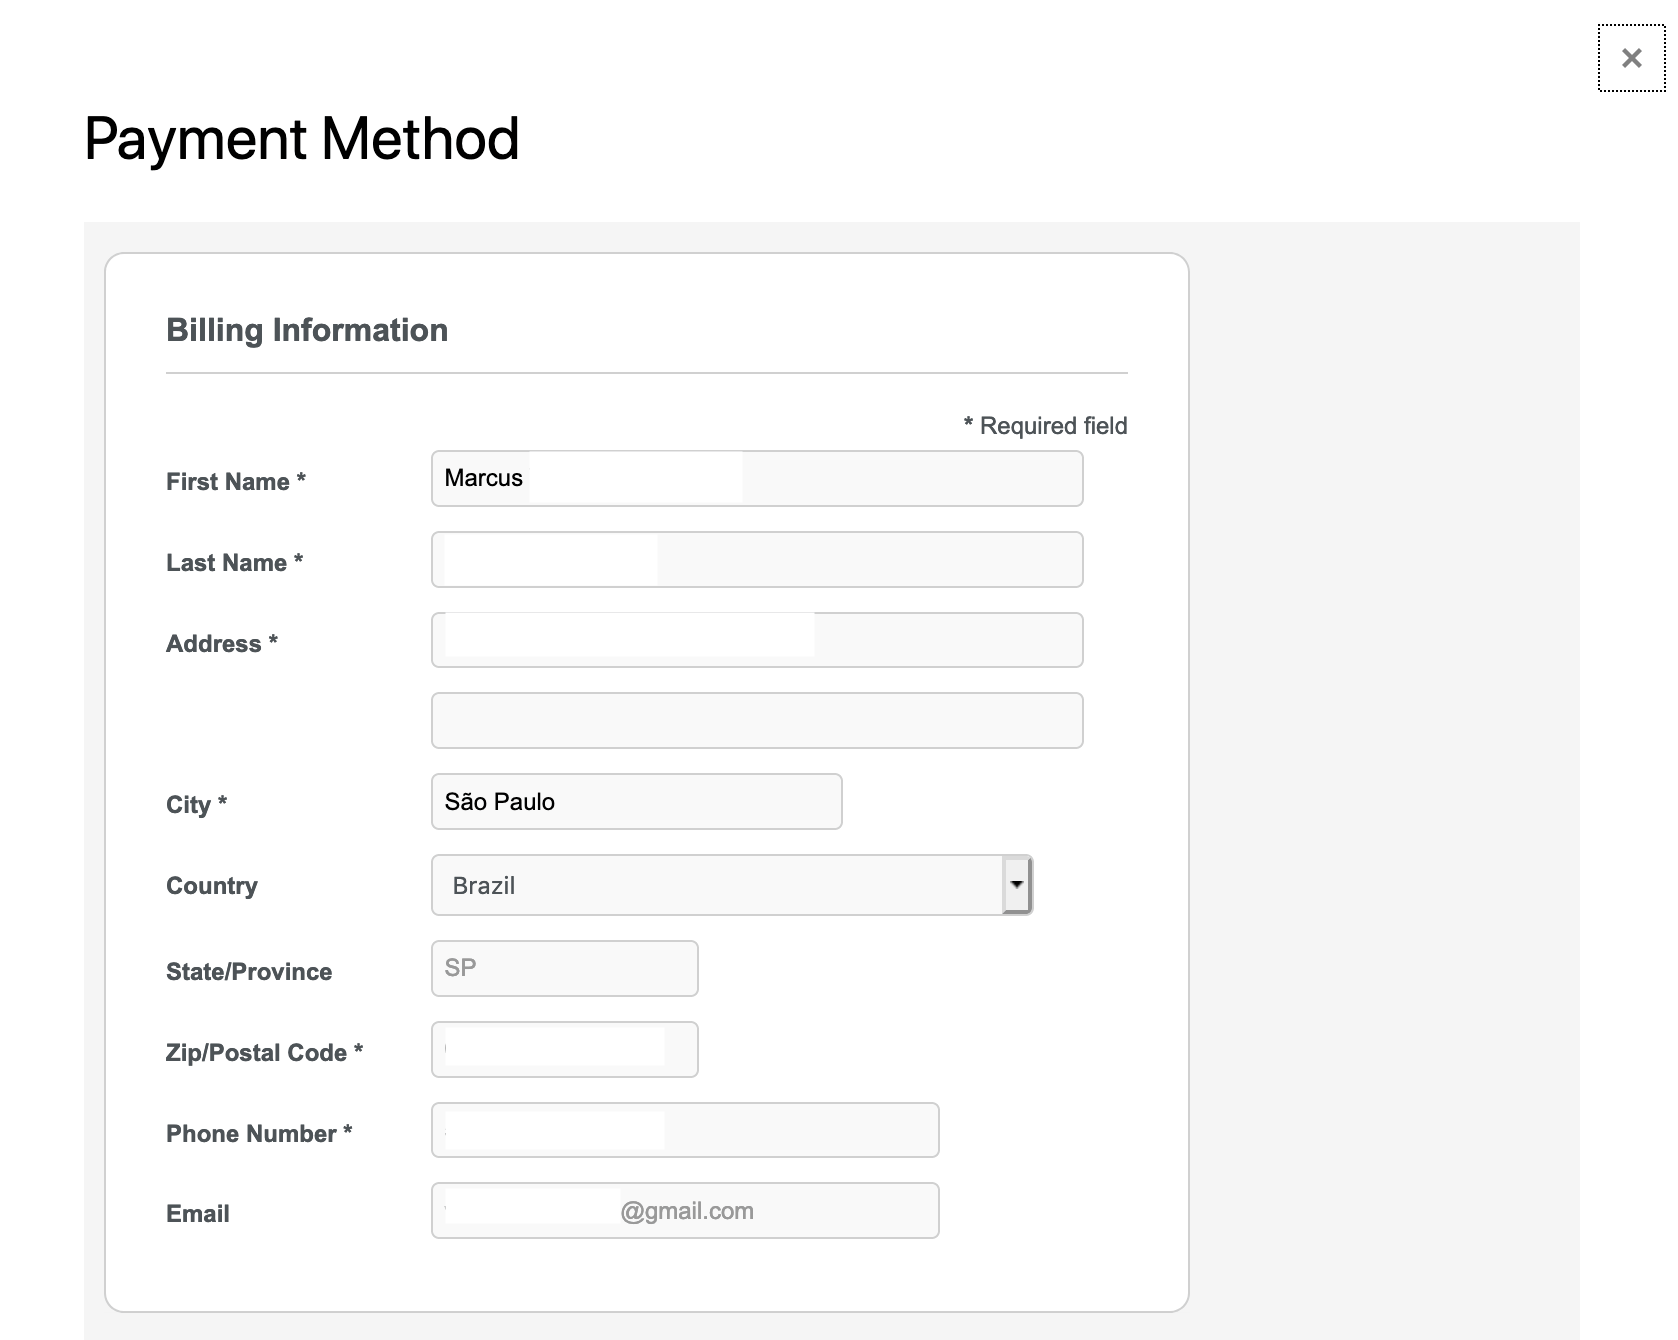
Input your payment data:
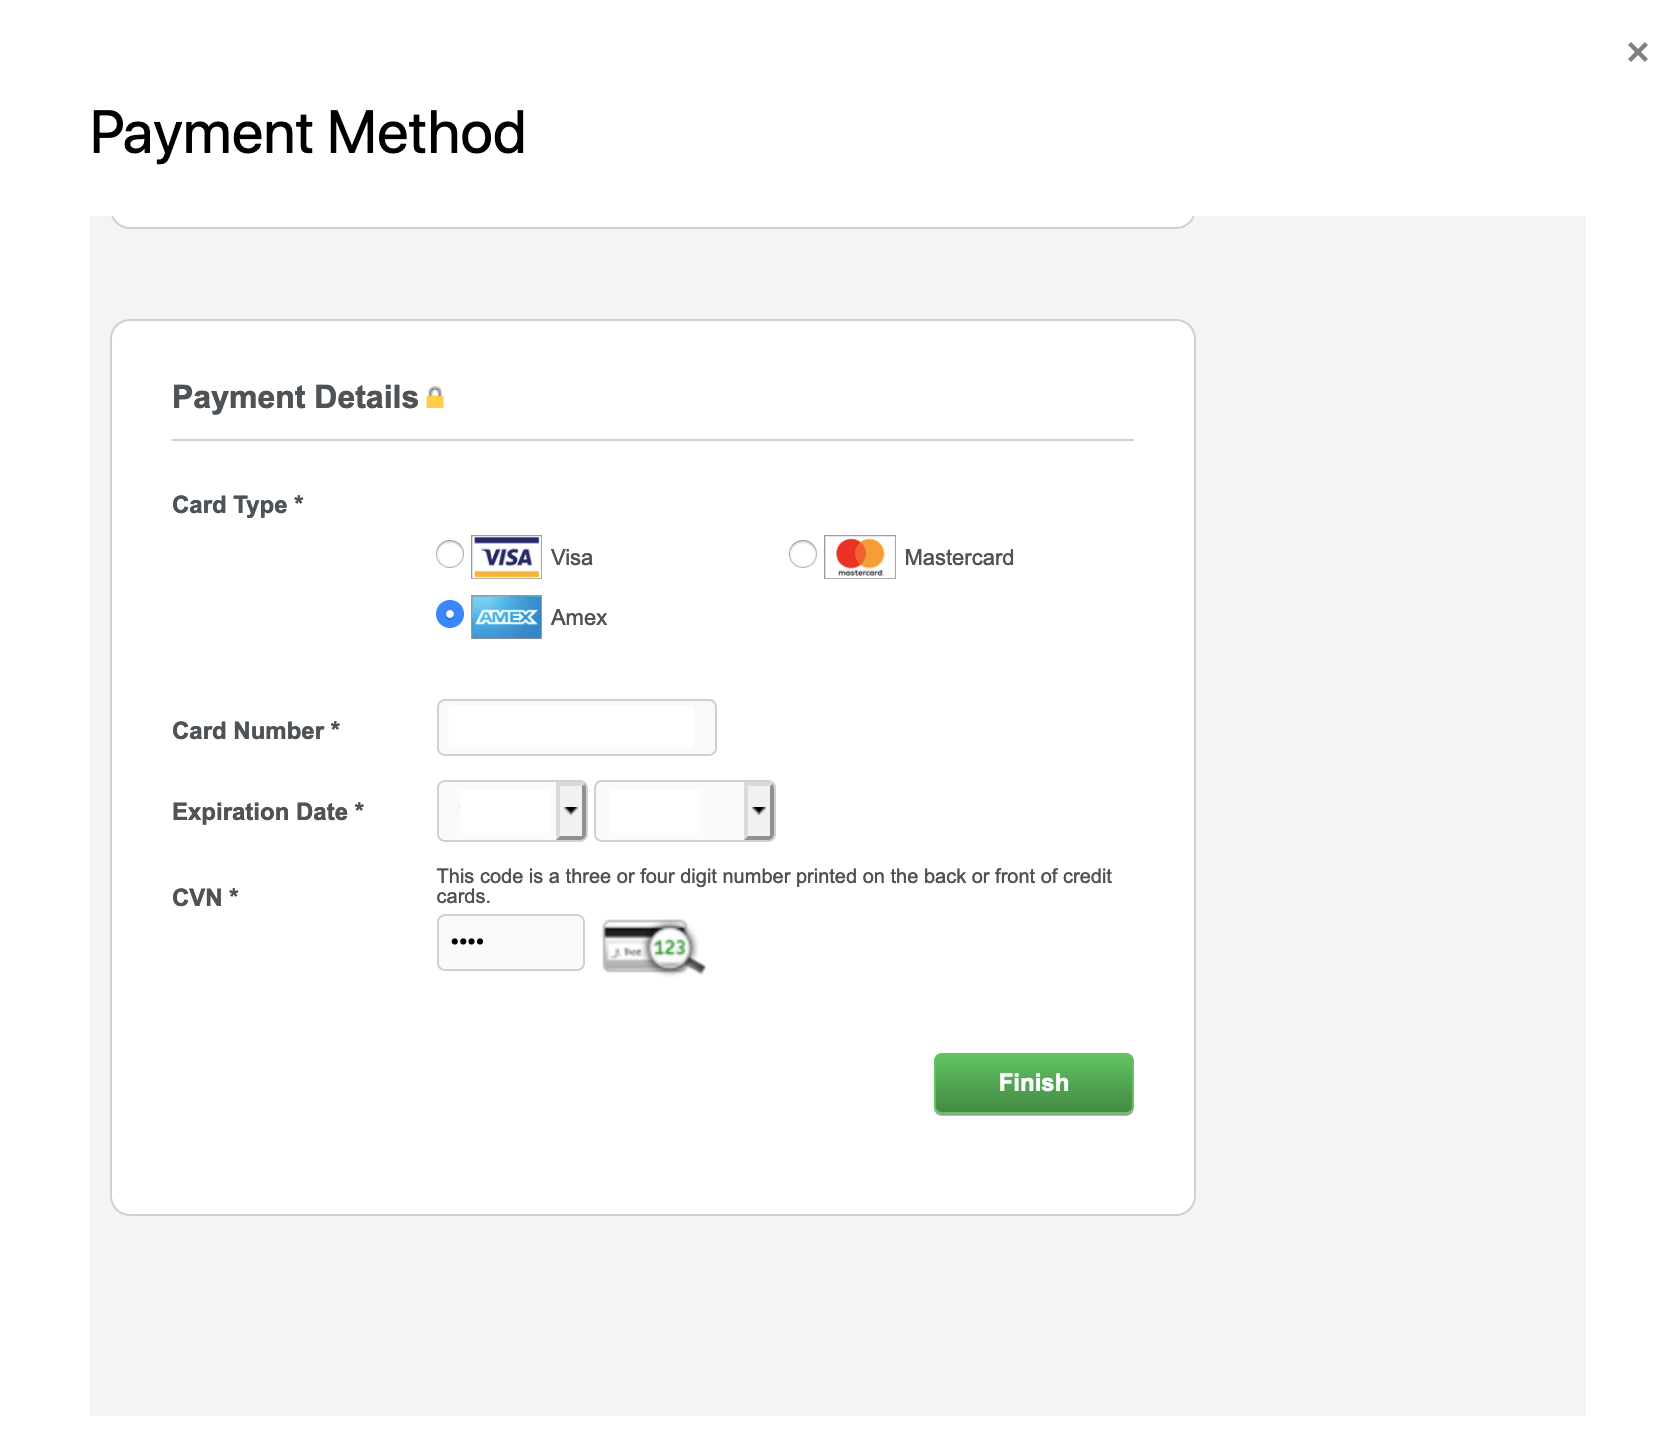
Input your Credit Card data and the payment details. Click on [Finish]:
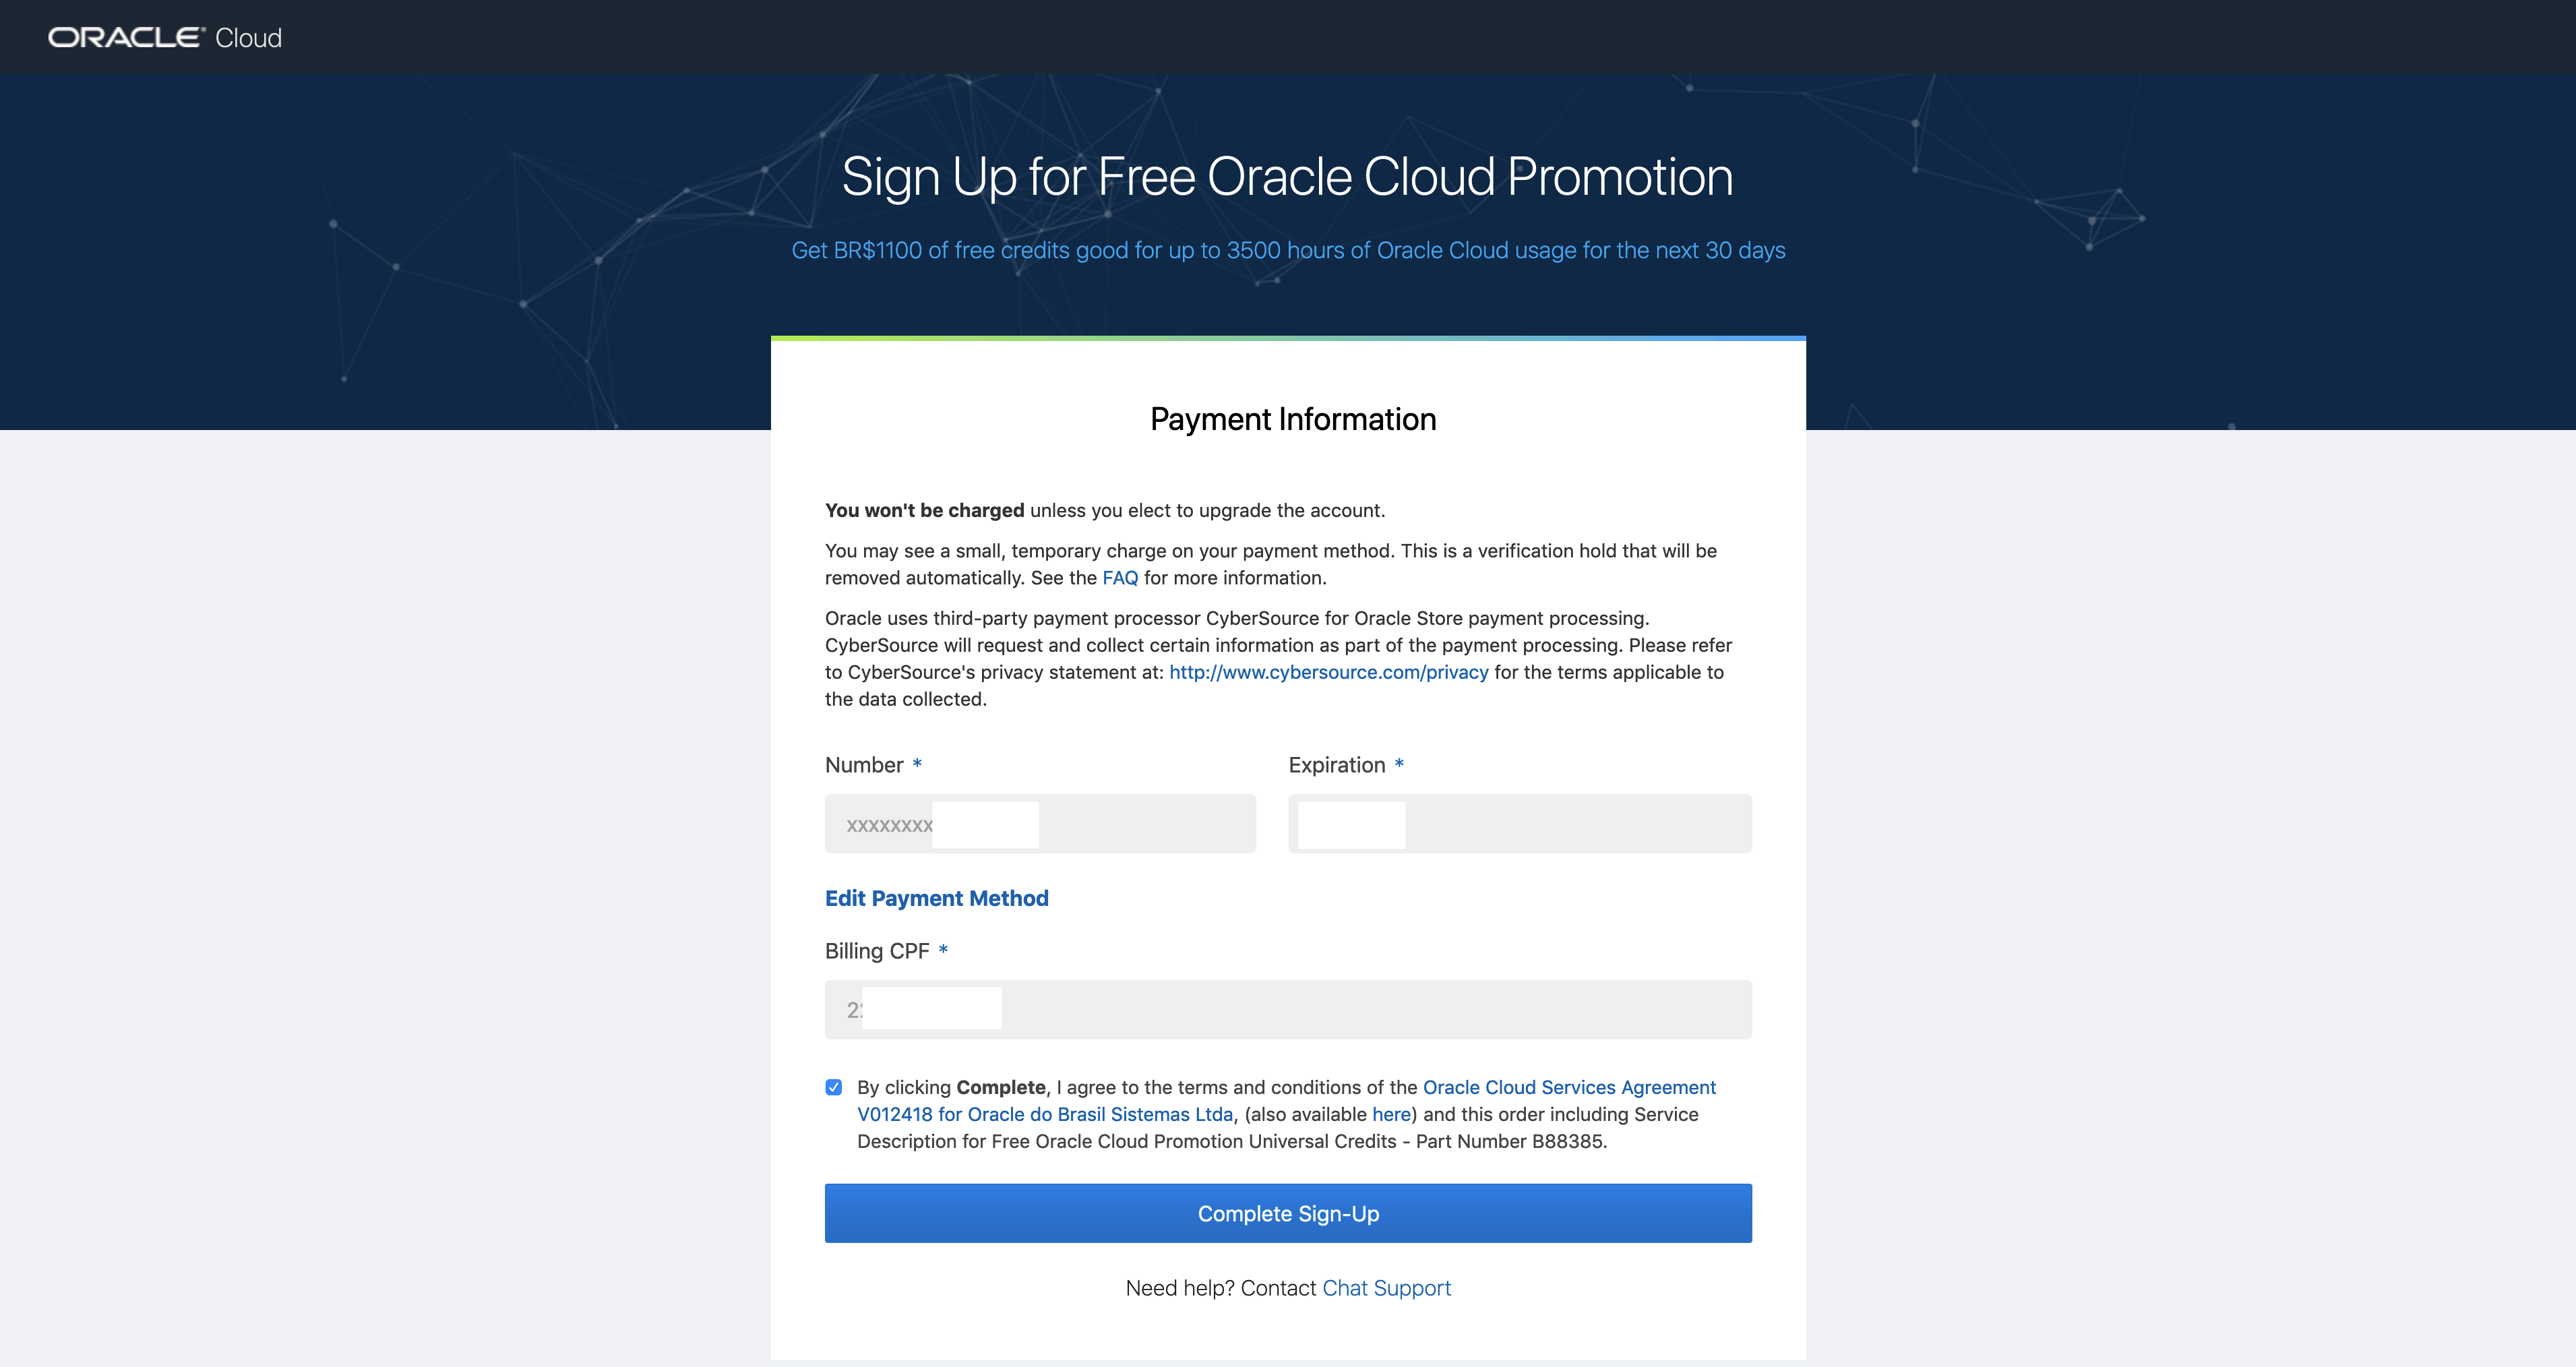
After you insert the data from your Credit Card, confirm some payment data again (in this case, I need to confirm my CPF [Brazil identifier document]). Click on [Complete Sign-Up]:
You will see the message: “We are creating your account, which may take up to 15 minutes. Check your email for further instructions”. Now, let’s wait…

The email from Cloud was received less than 10 minutes after filling out the forms.
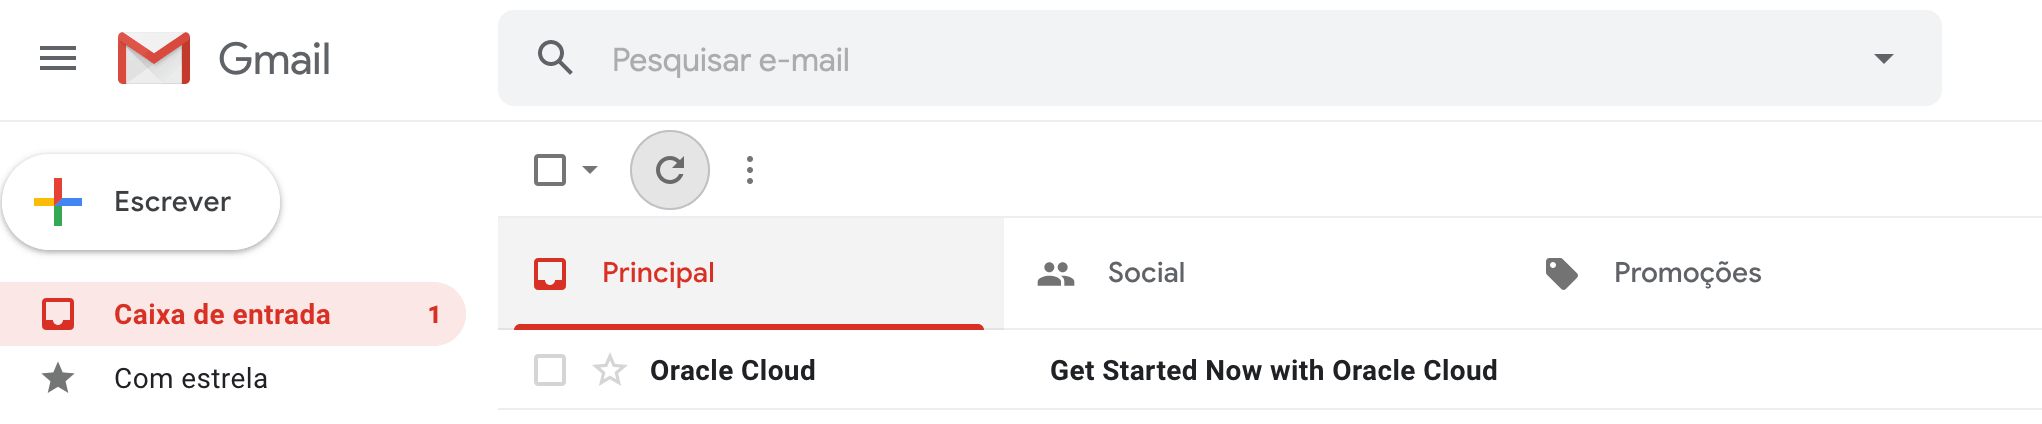
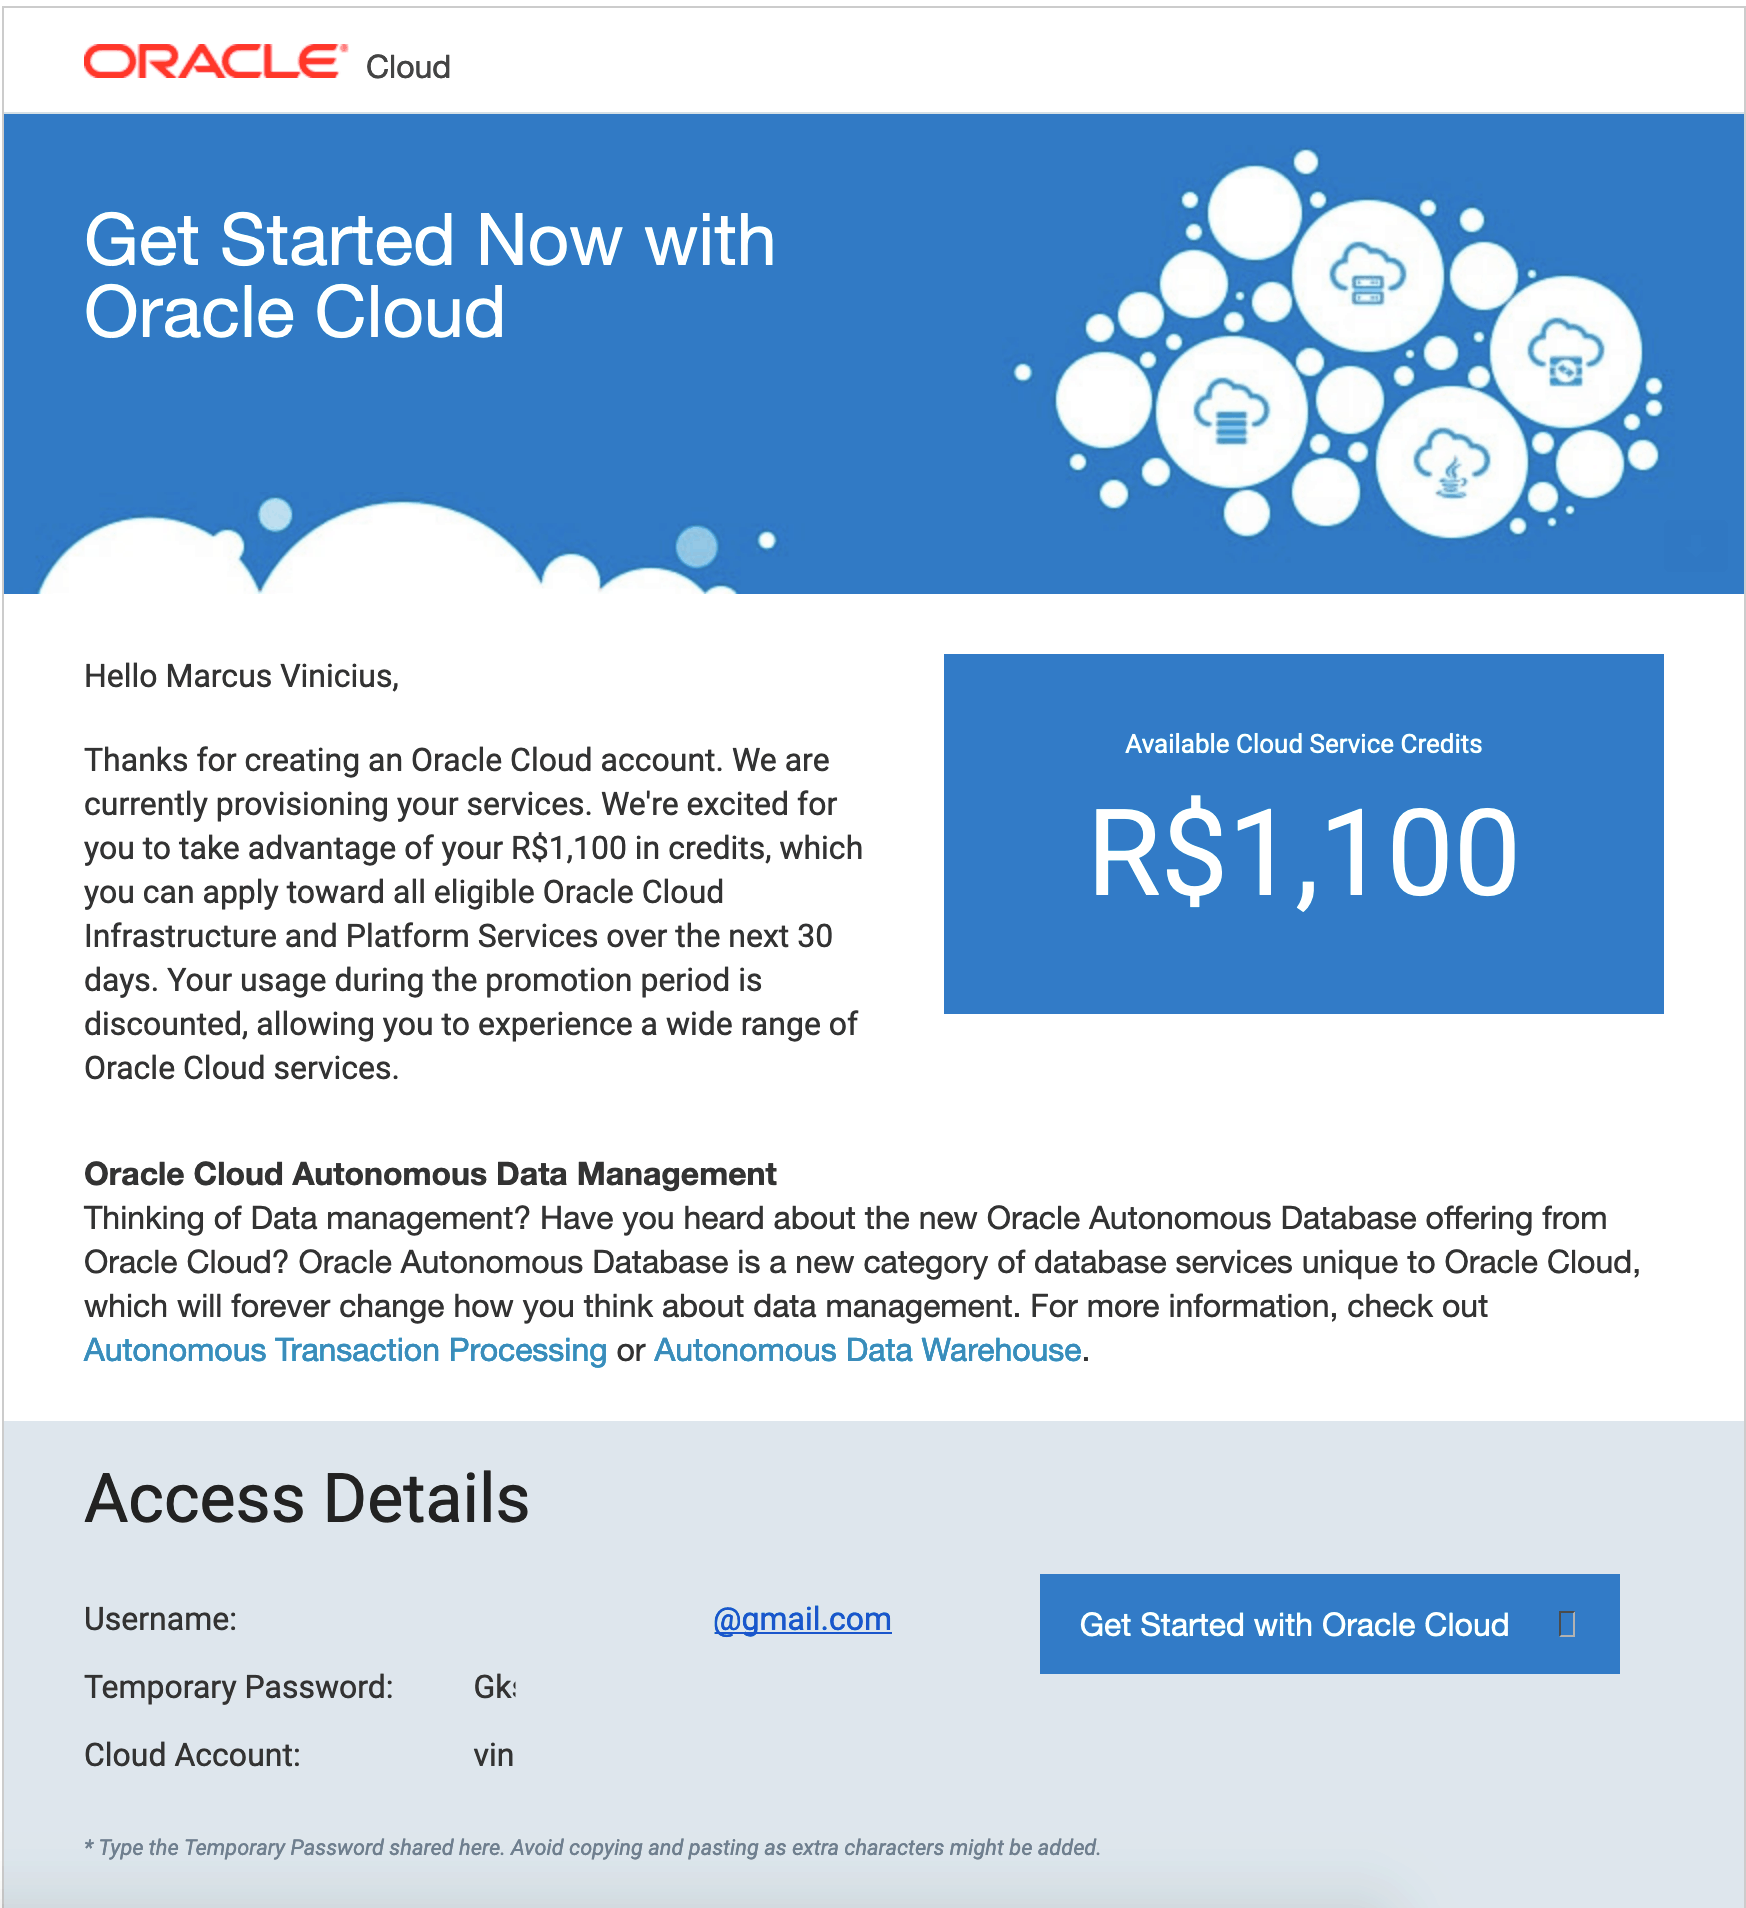
A message will be exhibited. In this message you can see your credits in local currency, your username (your e-mail), your temporary password and your Cloud account. Click on [Get Started with Oracle Cloud]:
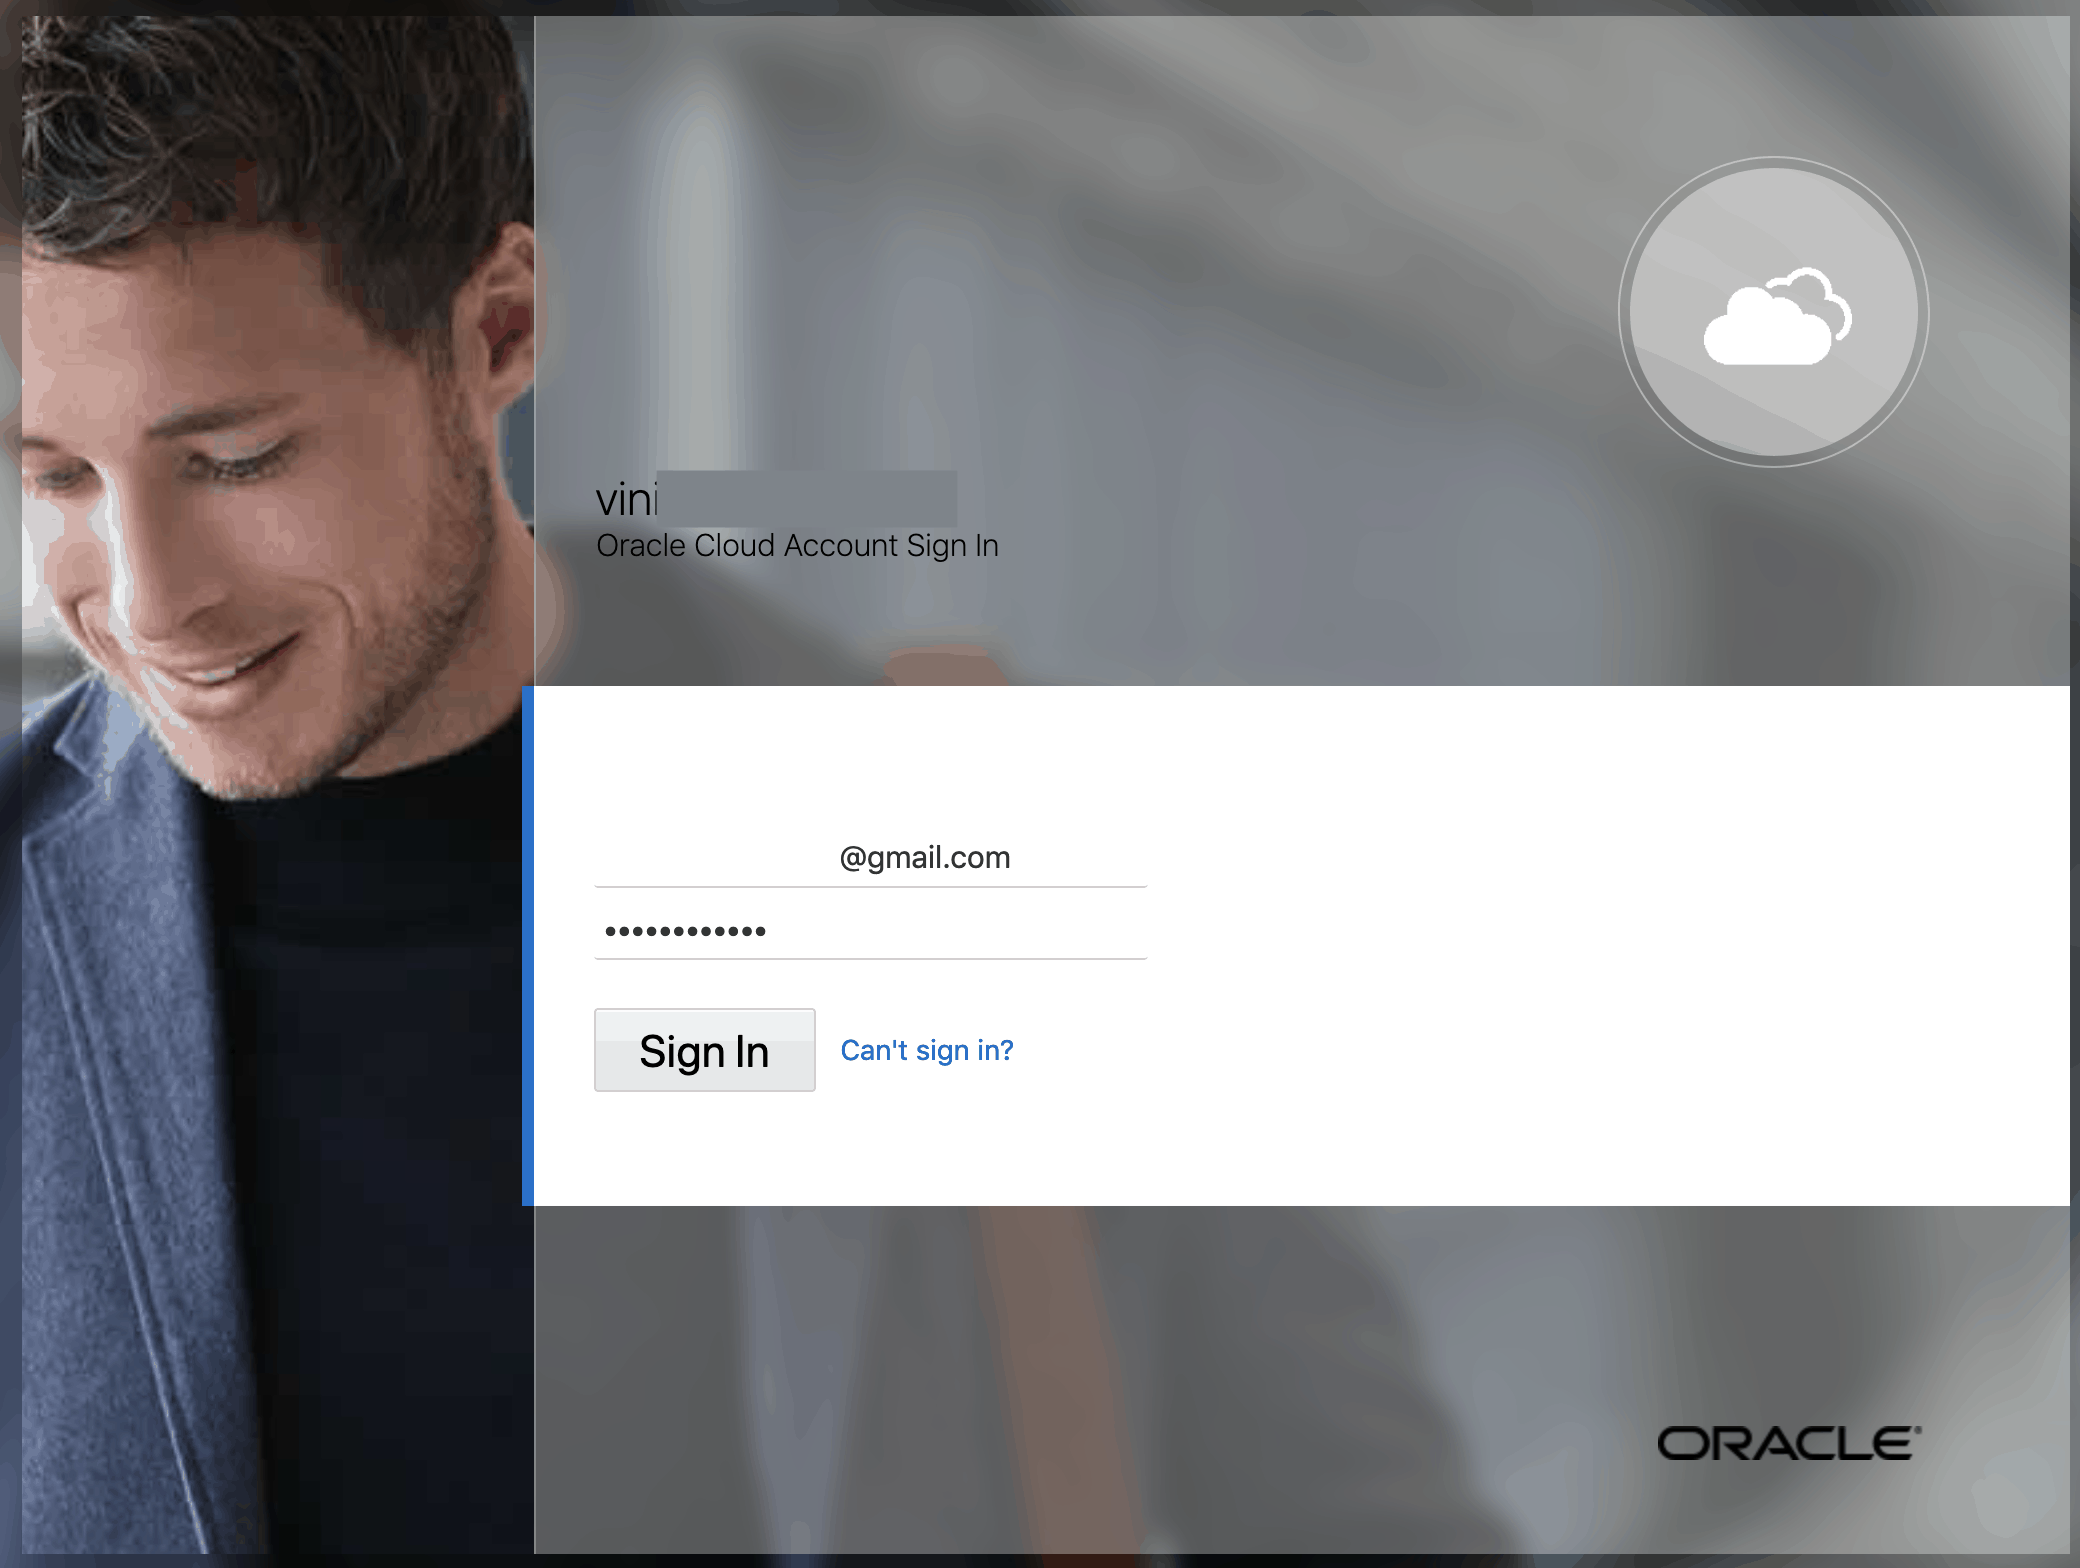
You will be redirected to a Cloud login page. Input your e-mail and temporary password. Click on [Sign In]:
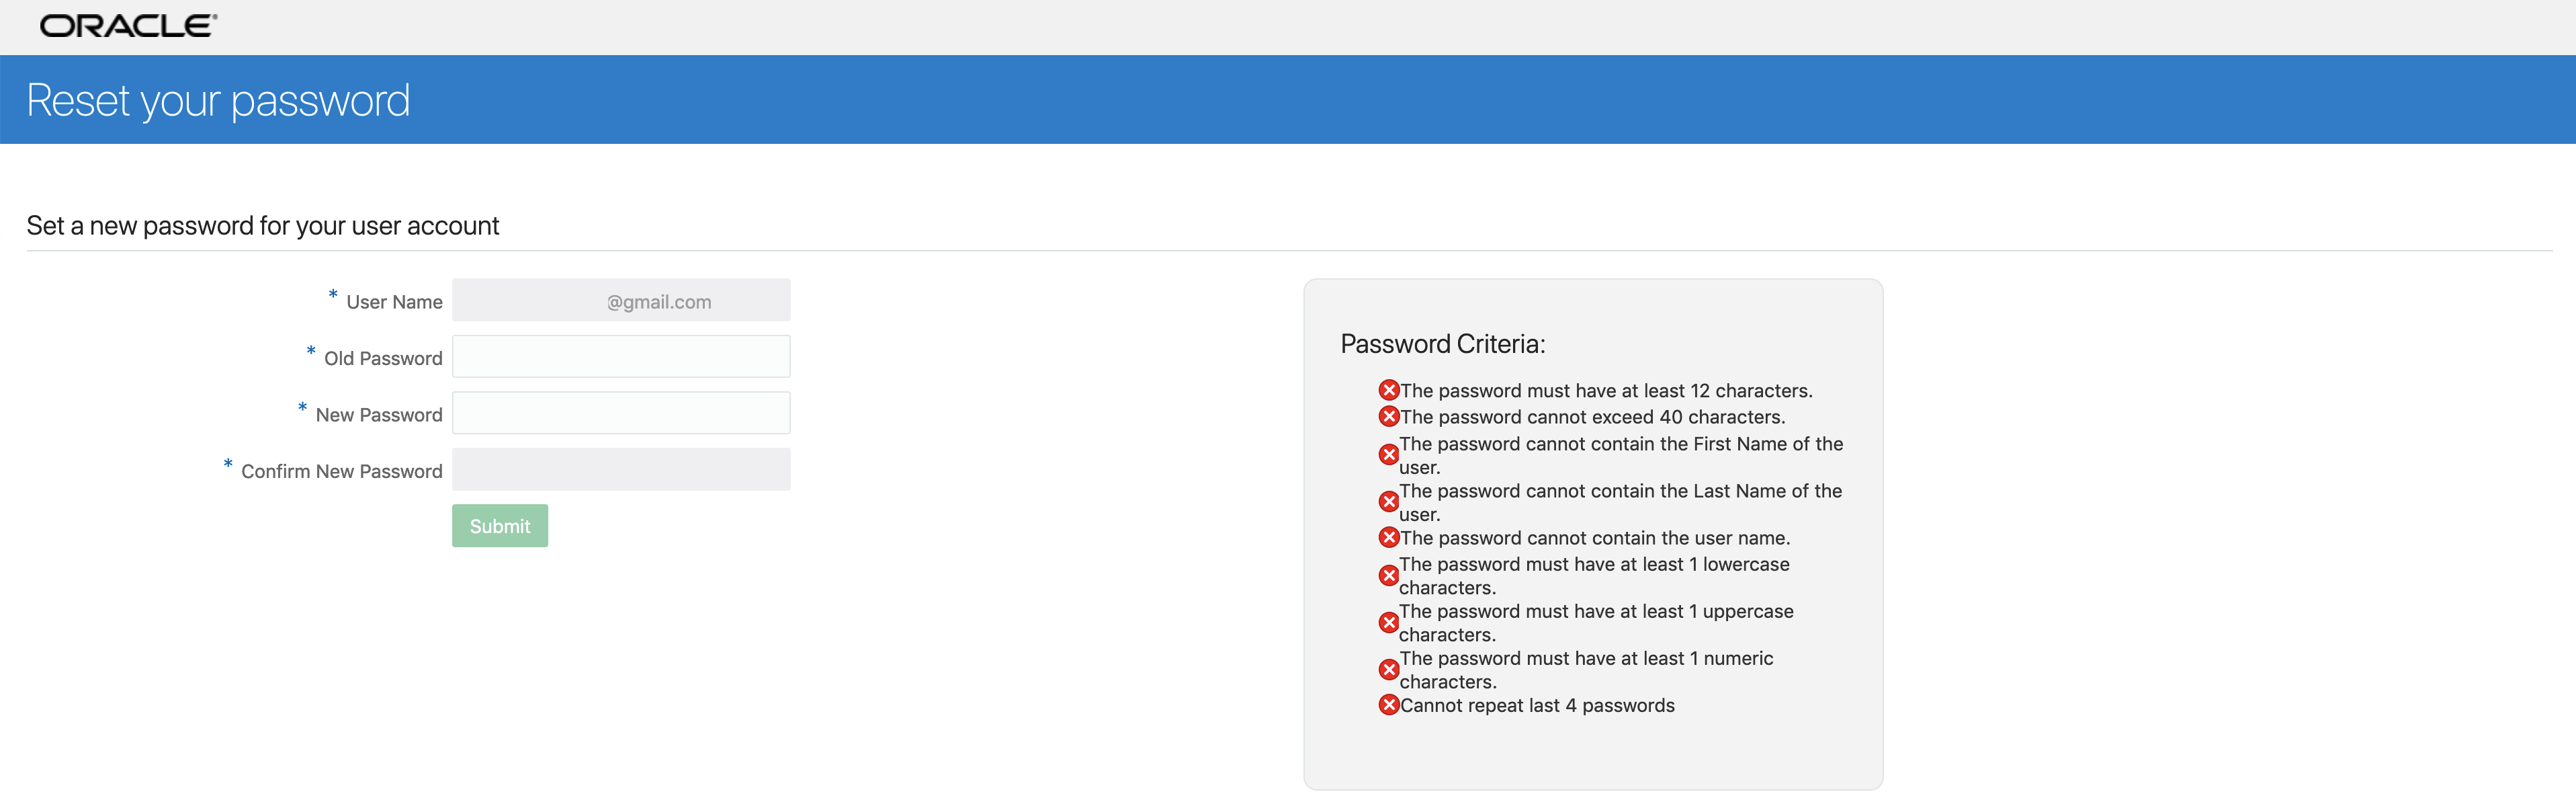
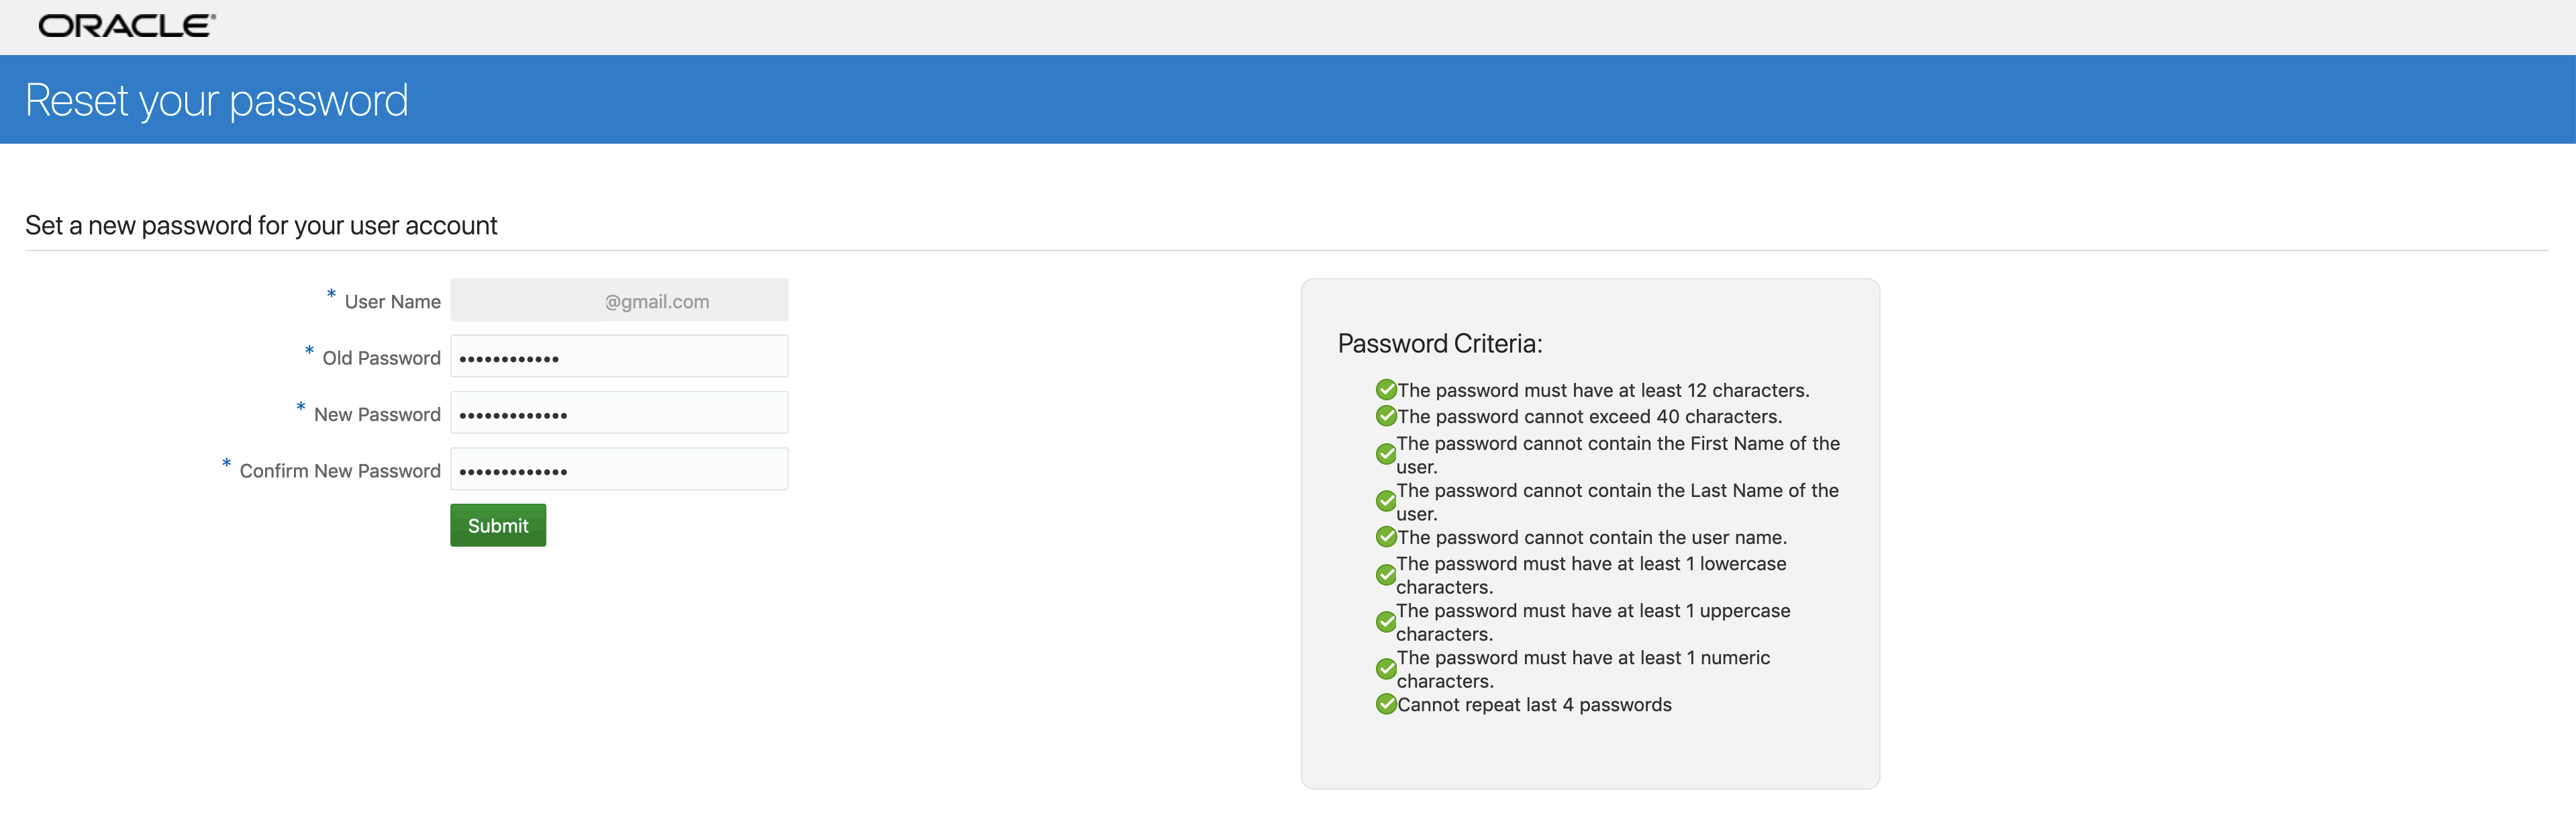
You should change your password to a new one attending the password criteria exhibited in the page:
After input your new password, click on [Submit]:
Congratulations! Your Cloud Account was created! In the next post, we’ll see some Cloud key-concepts:

Peace!
![]() Vinicius
Vinicius